A/B Split Test Images of Your WP website For Better ROI
To have a perfect featured image, it is imperative of you first to go on with A/B test for the featured image. Talking about the importance of featured images one need to know that the featured images play quite an important role in increasing the engagement quotient and pageviews of your website.
Appropriately A/B tested featured images were quite important to boost the engagement quotient of your images. In this blog, we will discuss the important factors that are essential to A/B test your images that you are going to display on your WordPress website. Though, you need to hire a professional WordPress developer in order to come up with the quite smooth version of the featured image, but here you can get a rudimentary grasp of the process.
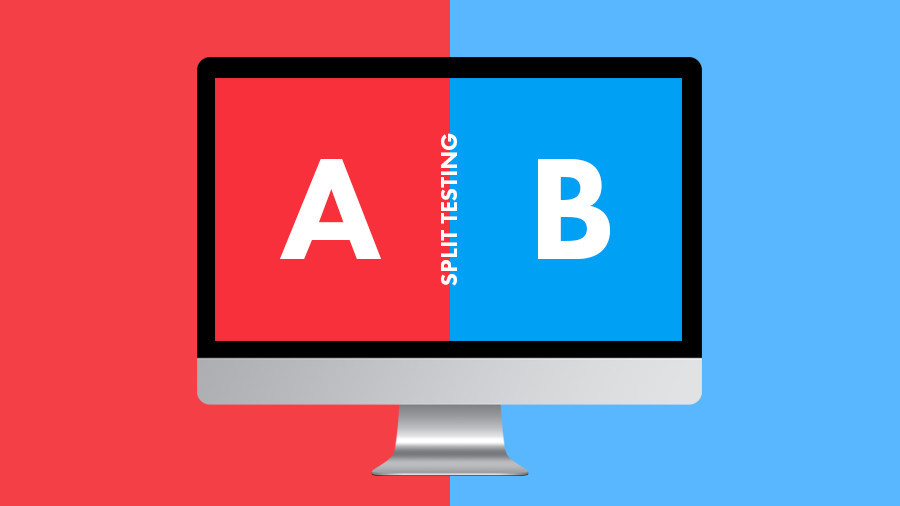
What is A/B Testing?
We are well aware of the fact that one image is worth a thousand words and thus featured images in WordPress are the main center of attraction in an article, and therefore, you need to take care of the picture. Moreover, you need to consider the factors that are required for design a perfect WordPress website as this has a great impact on the design. Another reason why they need to be taken care of is that they are displayed on your website and even come on their social media feeds whenever you or your users share the blog or article.
The engagement factor of the images is quite important as images with high engagement bring in more clicks and also allures user to read the article. However, another question that arises in our mind is that what types of featured images do you need to apply so as to keep your users engaged or what kind of images do your users find engaging?
This is the reason where you need to go for A/B testing to make sure that everything goes well as per your decision. In this, you are allowed to display more than one variations to several audiences and get to know how your users react. There is a version which is here to get reactions that are quite favorable from the users, and this helps you to get to be the winner.
Website owners make use of A/B testing to test different landing pages that they have on their website.
In this blog, we will discuss things that we will guide you how to run A/B tests that are present in WordPress that have Google Analytics. This also helps you to run A/B split tests that are for your post titles present in your WordPress. Now that we are talking about this, in this blog, we will discuss the process of running A/B tests that are for featured images for your WordPress.
A/B Testing Featured Images in WordPress
To begin with the first thing, one needs to make sure to install as well as activate the plugin called the Featured Image Optimizer. To get to know more about this in details, you can also check out the step by step guide that helps you on the installation process of WordPress plugin. After activation, you can begin with by creating a new post or edit the one that already exists. You will get to see two new boxes that are the Featured Image A as well as Image B, which are present in the meta box of the featured image.
Therefore, you need to add two images present in the each featured image box and for this you need to click on the Add featured image link. Then the next step is, you need to go to the performance meta box of the featured image, you need to click on the box present next to the option ‘Activate Featured Image Plugin For this Post’.
Now all you need to do is to simply publish the post on your website. The plugin will randomly show either one of the two images to your users.
Go to the A/B Image Settings page, to see how the visiting settings of each image. This also helps you to view test results by making sure to edit the post as well as scrolling to the Performance meta box of the Featured Image. Doing so will help you check the image that has received all the clicks. This box will also have a checkbox that helps you to deactivate the A/B testing which is for the post.
Run the test for some time, and then make sure to select the image which is performed quite nicely and make sure to set this as the main featured image for the article. After selecting the winner, make sure that you deactivate the setting for the featured image testing.