IV Dressings Maintaining Site Integrity for Patient Safety
Keeping an intravenous (IV) line secure and preventing infection is crucial for patient health and safety. This requires diligent attention to proper IV dressing. An IV provides direct access into the bloodstream, so any breach in the site could lead to dire consequences if not handled appropriately. In this article, we will discuss the importance of IV dressing and provide best practices.
Assessing the IV Site
The first step in proper IV dressing is carefully inspecting the insertion site. Nurses and other medical professionals should routinely check the IV line and surrounding skin for any issues. Some signs that the dressing may need to be changed include:
- Blood or fluid seepage: If the dressing is saturated or fluids are escaping, it is not functioning as it should to contain the site. This increases infection risk.
- Loose tape or dressing edges: A loose dressing will not stay sealed over the insertion point. Airborne pathogens or accidental tugs on the line could then enter more easily.
- Drainage or redness: Drainage or swelling/redness indicate possible inflammation or infection starting under the dressing. These need prompt attention.
- Dressing integrity: Inspect for tears, peeling corners, or other compromises to the barrier properties of the dressing. An intact dressing is key to prevention.
Changing the Dressing
When inspection reveals a dressing needs replacement, follow these steps to maintain sterile technique:
- Gather new transparent dressing, tape, sterile gauze if needed, and other supplies on a sterilized tray. Perform hand hygiene.
- Gently remove the old IV Dressings , avoiding touching the insertion site. Place in biohazard waste.
- Inspect the site closely for irritation, bleeding, or other issues and take appropriate action if needed.
- Apply a small sterile gauze piece if any drainage is present to absorb it.
- Smoothly place the new transparent dressing firmly over the site, avoiding wrinkles and air pockets which harbor germs.
- Reinforce the edges with tape all around to ensure a complete barrier seal is achieved.
Types of Dressings
Different dressing types suit different IV placements and situations. Some common choices include:
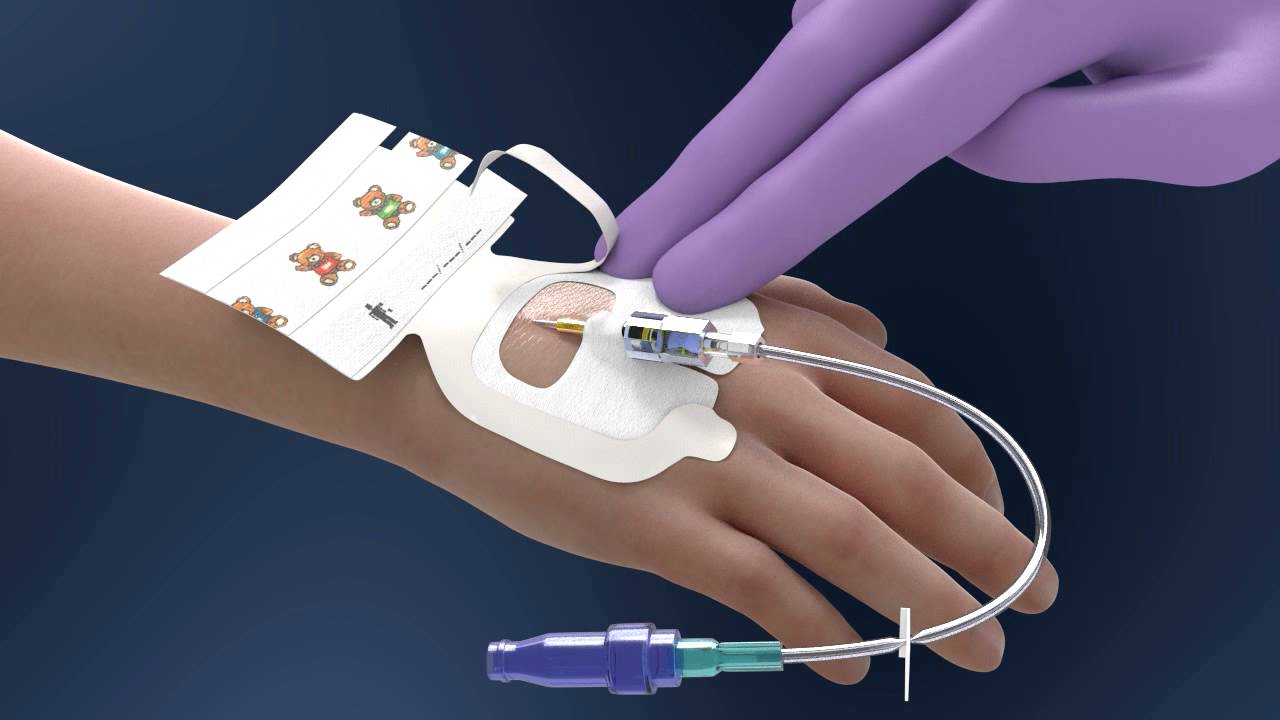
- Transparent semipermeable dressings: Allow observation of the site while keeping it protected. Best for short-term peripheral intravenous catheter sites.
- Gauze and tape: Can work well when clear dressings don't stick properly or for securing central lines requiring additional support.
- Impregnated dressings: Contain antiseptics like chlorhexidine which continue working for 7 days or more. Help prevent colonization under the dressing. Ideal for patients at very high-risk.
- Alternative securement devices: For example, sterile pre-cut dressings with adhesive are helpful for hairy or very active patients prone to dislodging standard dressings.
Frequency of Dressing Changes
Guidelines state IV dressings should be completely replaced:
- Every 5-7 days for short peripheral IVs secured with transparent dressings.
- Every 2 days for central lines with gauze dressings.
- PRN (as needed) if the dressing becomes loose, soiled, damaged or the site shows any issues upon inspection.
- After showering, heavy exertion, or other situations where the integrity may be compromised.
- Prior to discharge to ensure a fresh protective barrier at home.
The Importance of Aseptic Technique
No matter how often dressings are changed, strict adherence to sterile procedures is a must each time. Even minor slip-ups in aseptic technique like failing to change gloves between patients could potentially introduce harmful pathogens. Proper hand hygiene, full sterility of supplies and work area, and avoiding touching the insertion area are essential to protect the IV site. When healthcare providers pay vigilant attention to aseptic practices, it significantly reduces IV-associated infections that prolong hospital stays and recovery times.
Get more insights on Iv Dressing